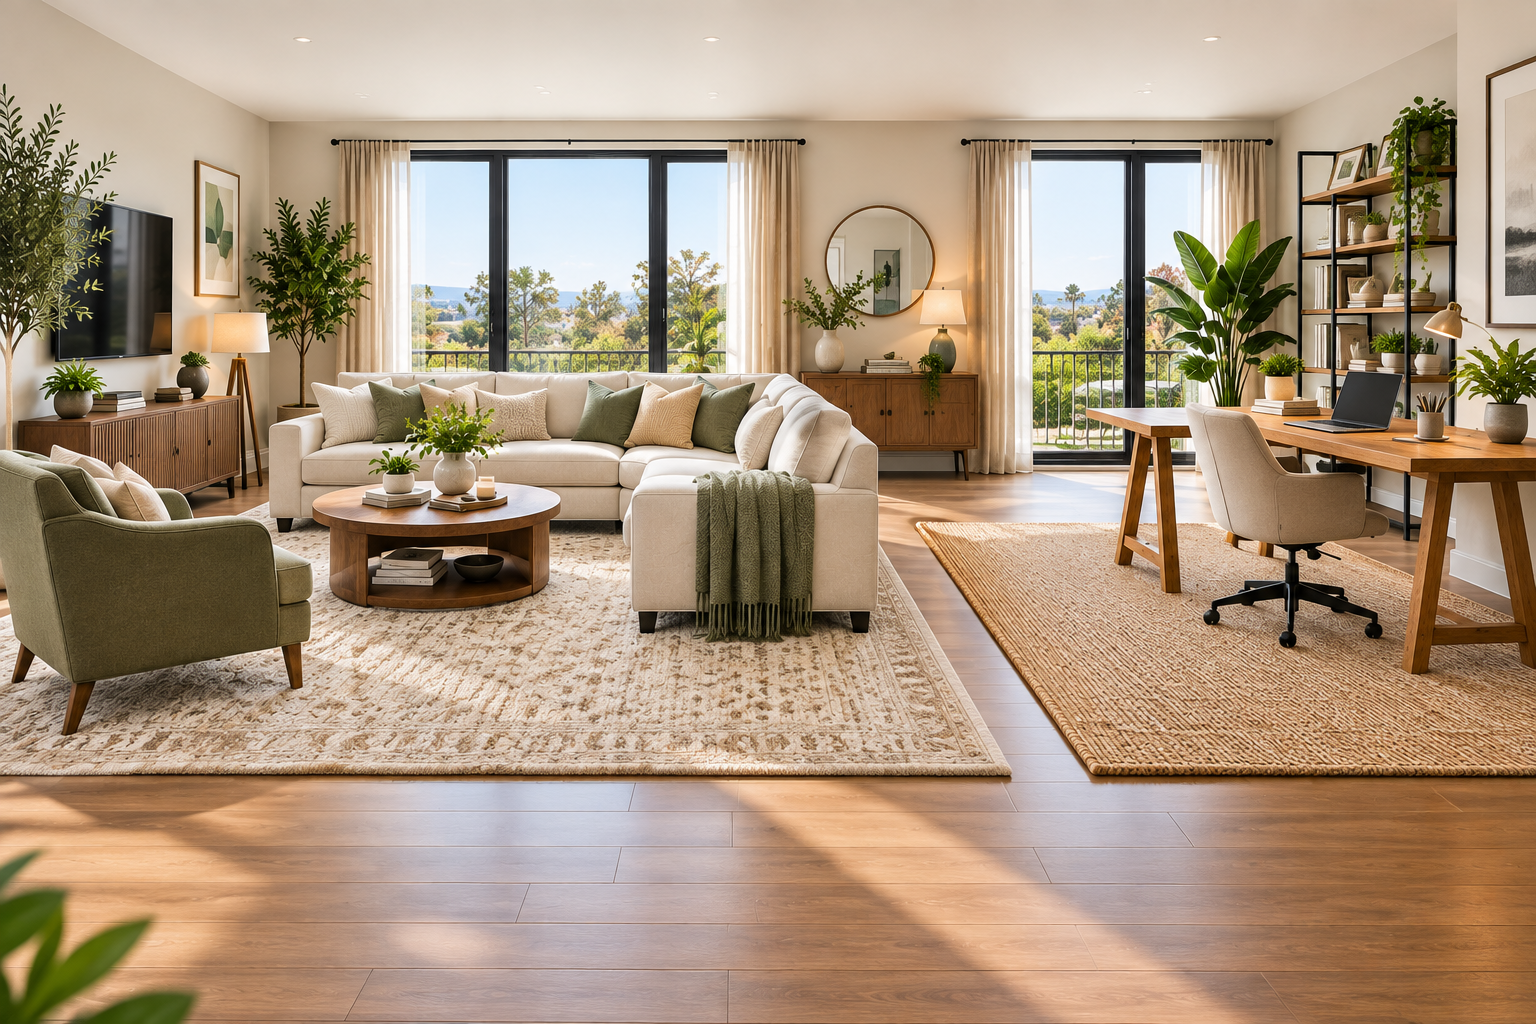
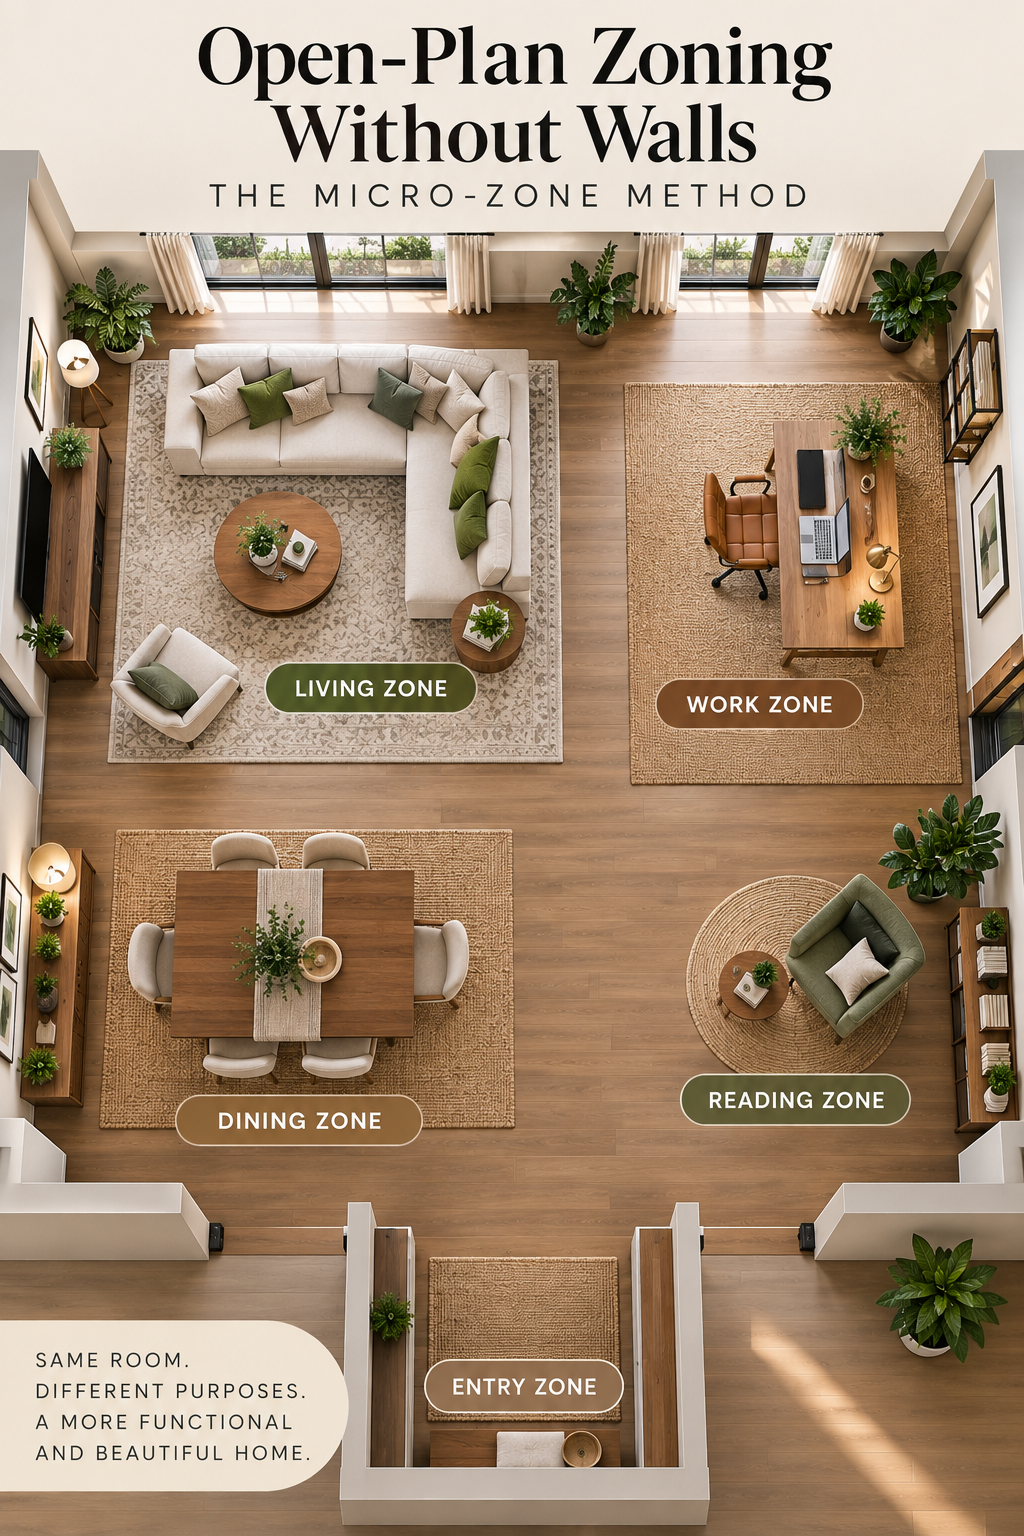
Open-Plan Zoning Without Walls: The Micro-Zone Method
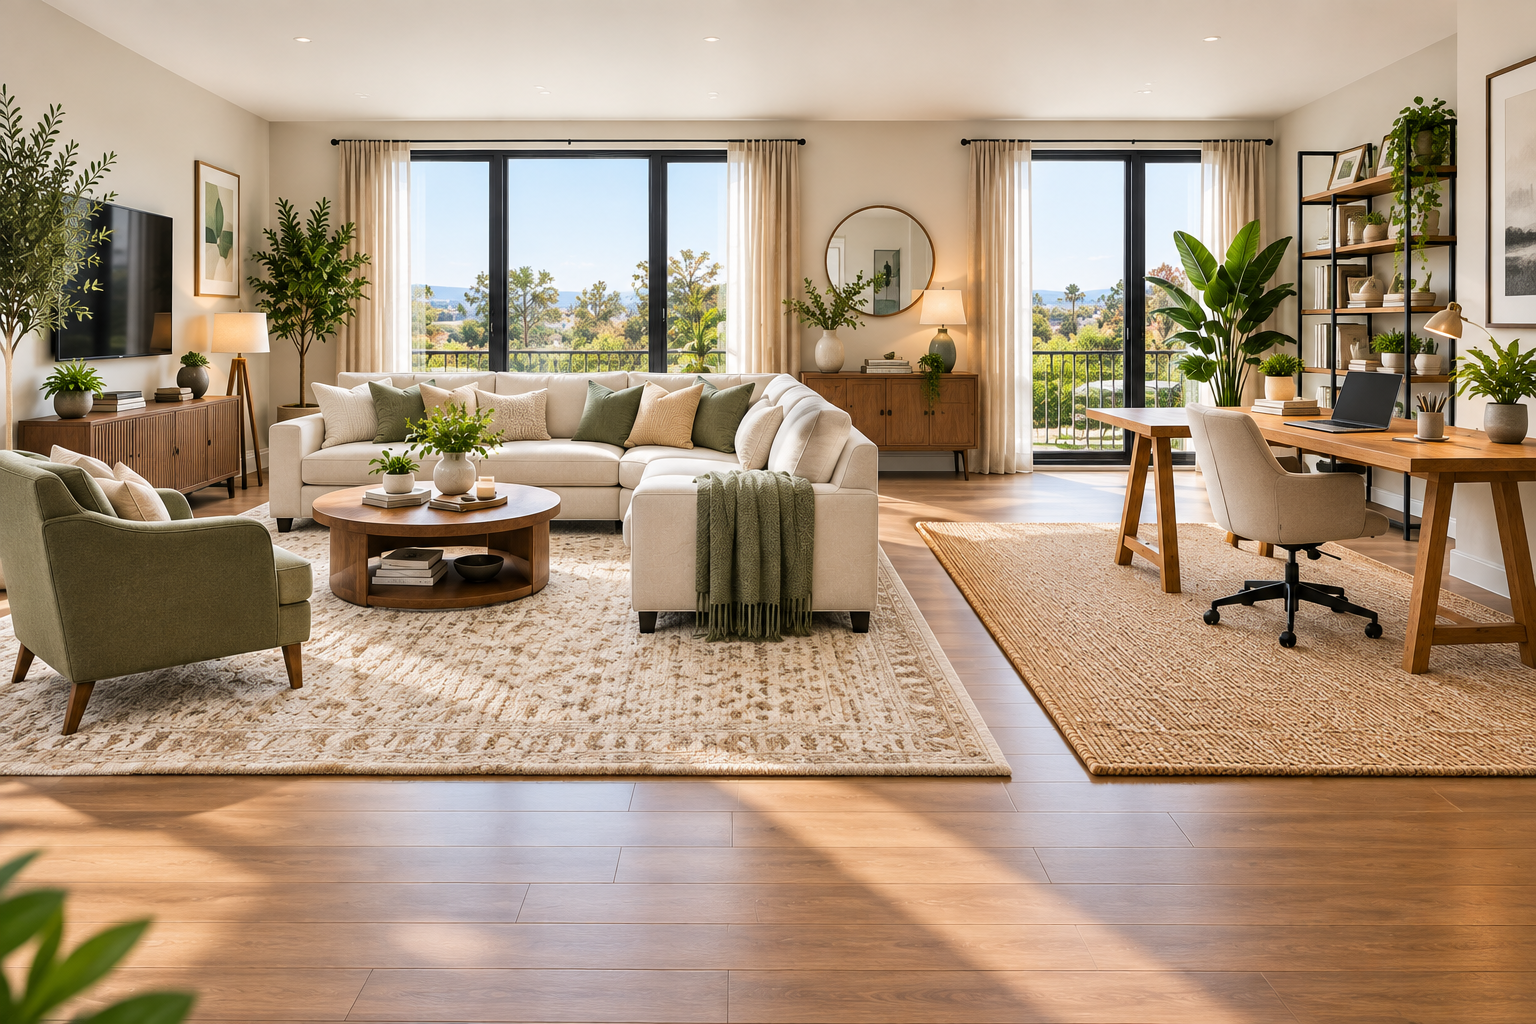
Open-Plan Living Room + Home Office: One Room, Two Zones
Disclosure: this post contains affiliate links. If you buy something through one, I may earn a small commission at no extra cost to you.
My first apartment on my own was one room doing the job of three. Kitchen along one wall, a sofa facing a TV, and a desk wedged into whatever corner was left that week because it moved constantly, since it never had an actual place.
For a year I worked from the sofa with a laptop on my knees, told myself the desk corner "wasn't working," and never once considered that the desk corner wasn't working because it wasn't a corner. It was wherever I'd shoved a table between two other decisions.
Open-plan spaces get sold on light and flow, and they deliver both. What they don't deliver automatically is definition a way of knowing, just by looking, where one activity ends and another begins. That has to be built in on purpose.
Why open plan alone isn't enough
A single undivided room asks a lot of your brain. Every activity cooking, relaxing, working, eating happens in visual and physical continuity with every other one, and nothing in the space tells you where you are or what you're supposed to be doing there.
This is exactly why design coverage this year has shifted away from open-plan as an end in itself, toward something usually called micro-zoning: keeping the openness and the light, but carving the single room into smaller pockets that each clearly belong to one activity. Not walls. Just enough definition that your eye and your brain can tell the difference between the sofa zone and the desk zone without needing a door to do it.
The tools available are the same four, in every version of this: flooring or rugs, furniture placement, lighting, and level changes. Most rooms only need the first two.
Tool 1: Rugs, the easiest and most effective option
If you do nothing else, do this.
A rug placed under a group of furniture defines that group as its own zone, full stop. A different rug or bare floor under an adjacent area marks it as a separate one. It's the cheapest, most reversible, most effective zoning tool there is, and it requires no construction and no landlord approval.
How to do it well:
- Coordinate, don't match. Same general tone or color family across the rugs, different pattern or texture. This keeps the zones feeling like they belong to the same room rather than two unrelated spaces glued together.
- Size properly within each zone. The rules don't change just because the room is open front legs of the seating group still need to sit on the rug → Rug Sizing: The One Guide You Actually Need. A too-small rug is the fastest way to make a zone look under-furnished, and it's more noticeable in an open room than in a closed one, because there's nothing else defining the edges for you.
- Leave a gap of bare floor between zones, even a narrow one. That strip of exposed flooring is doing real work it's the visual equivalent of a doorway, telling you where one zone stops and the next begins.
A large living-zone area rug paired with a smaller, differently textured rug under a desk or dining area is the whole technique in two purchases.
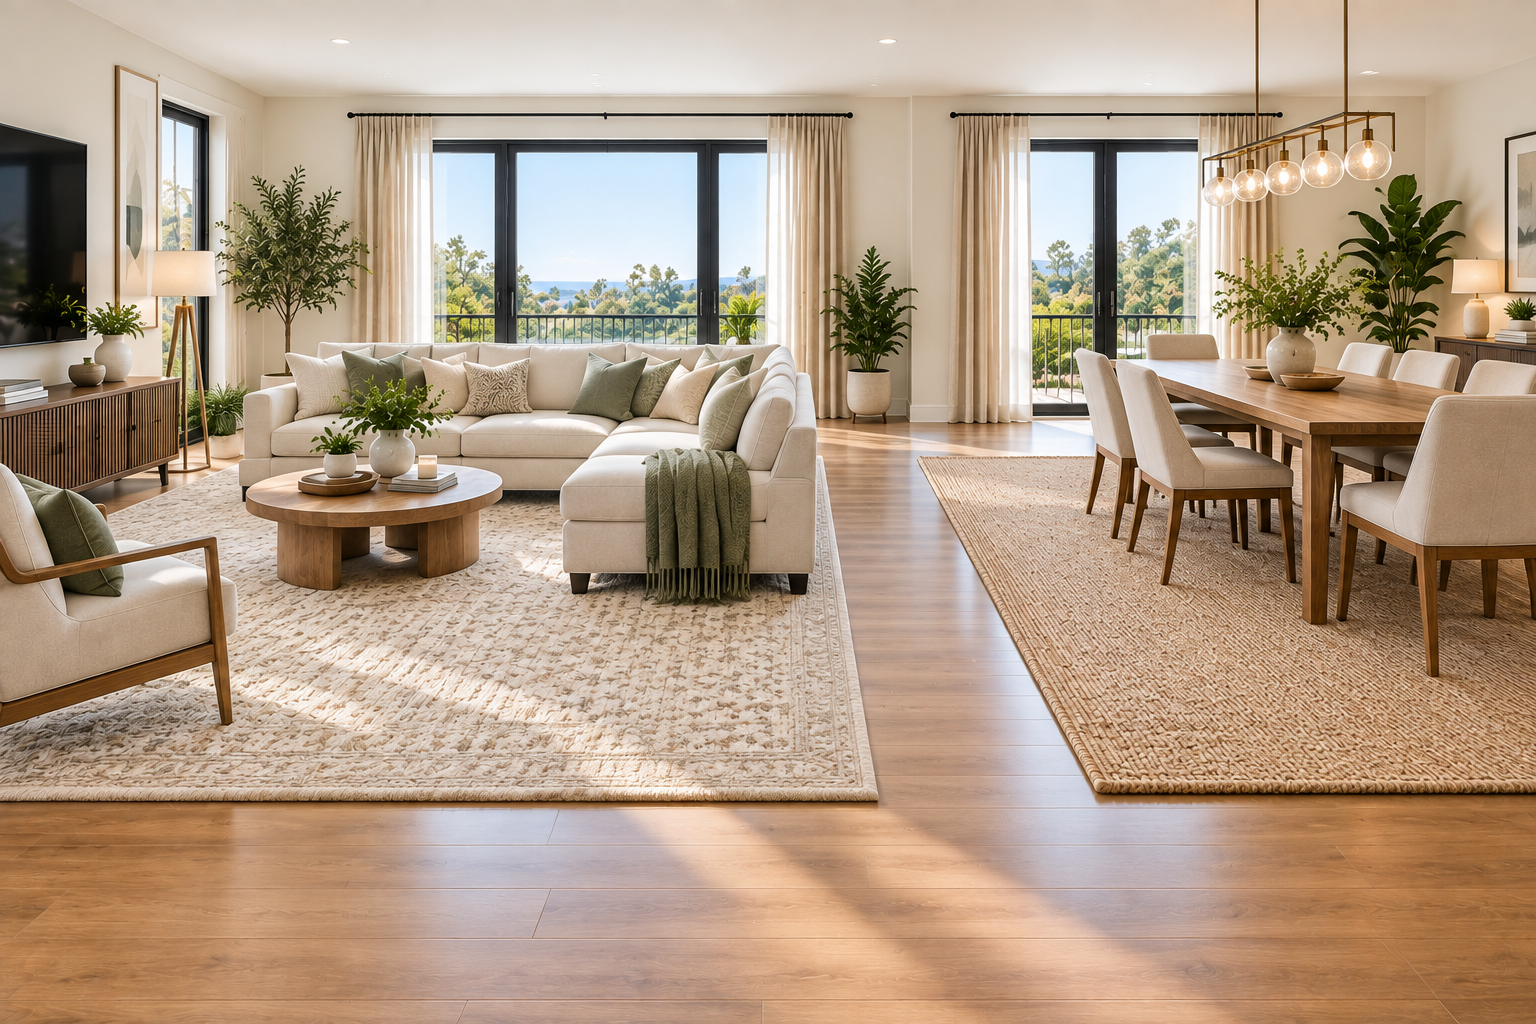
How to Separate Living & Dining Areas Without Walls
Tool 2: Furniture as a divider, not just seating
In a defined room, the sofa's back usually goes against a wall. In an open-plan room, the sofa's back can become the wall.
Float the sofa away from the room's edge and use its back to separate the living zone from whatever's behind it a dining area, an entry, a desk. This does double duty: it defines the living zone's boundary, and it gives the adjacent zone something to visually anchor against.
Other furniture that works as a soft divider:
- A console table behind a floated sofa, at the exact boundary line. Gives you a surface and marks the edge at the same time.
- A bookshelf or open shelving unit perpendicular to the main sightline. Divides two zones while still letting light through, since it's not solid.
- A kitchen island or peninsula, if you have one often the boundary is already built in and just needs the furniture on either side to acknowledge it rather than ignore it.
This is the same principle as floating a sofa in a narrow room → How to Lay Out a Long, Narrow Living Room or using a sofa's back to route traffic around a walkway → Living Room With Two Doorways furniture doing a structural job, not just a seating one.
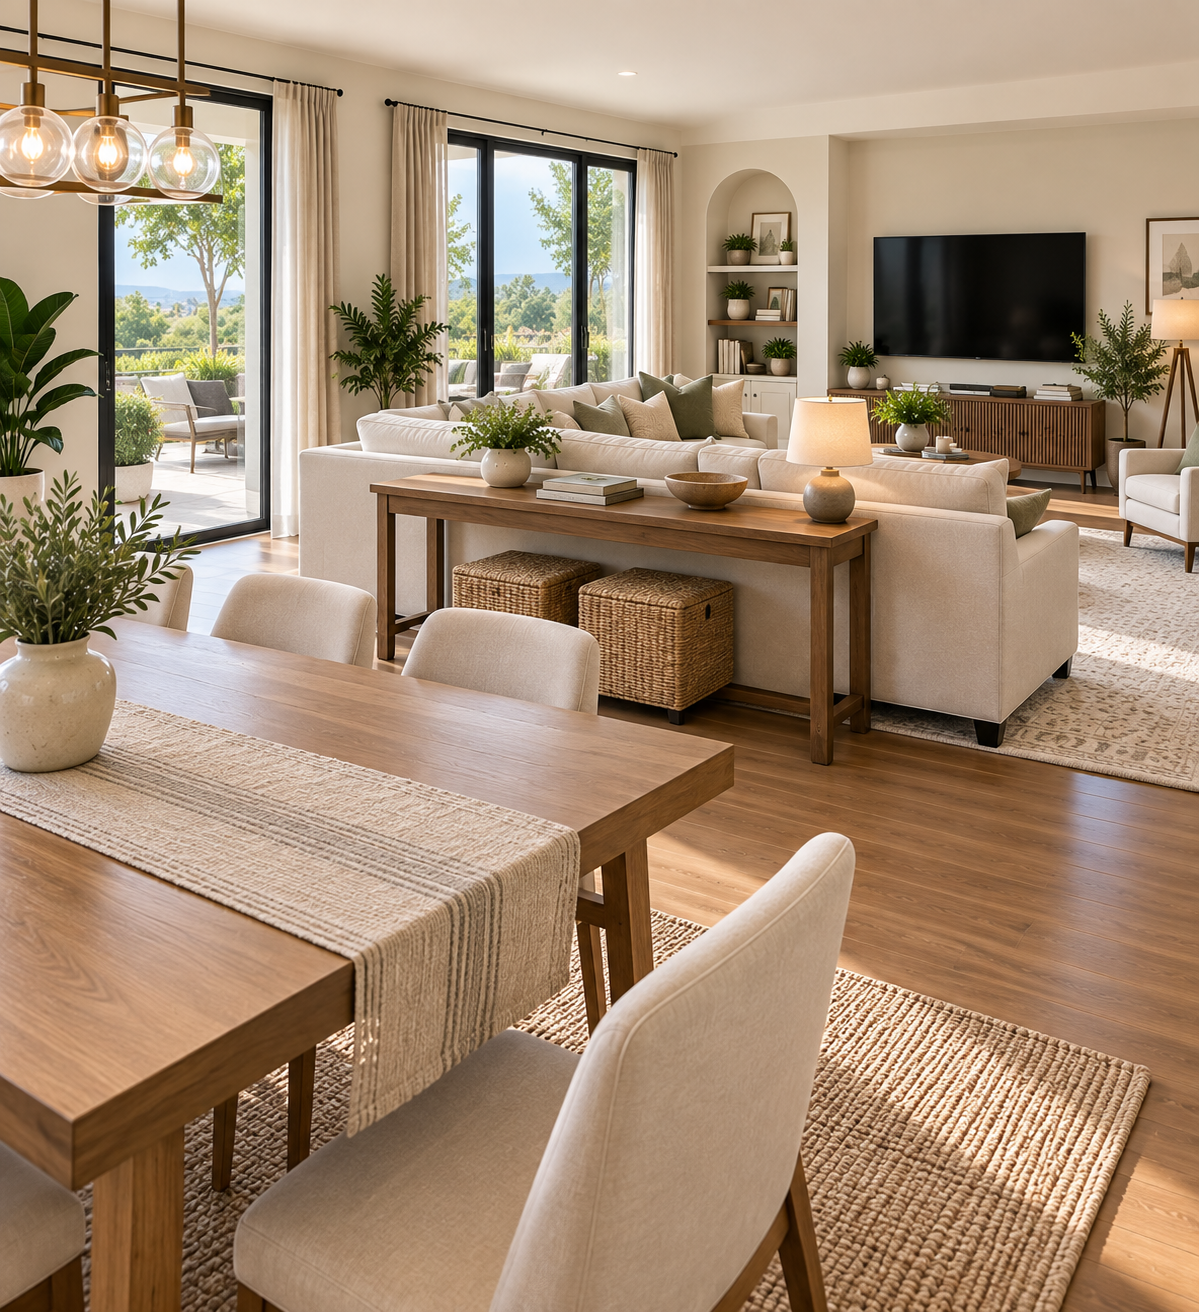
Use the back of the sofa as a natural divider to separate the living and dining areas without adding walls.
Tool 3: Lighting, the most underused tool of the four
Different light in different areas is one of the fastest ways to signal "this is a separate activity" without touching a single wall or piece of furniture.
- A pendant or chandelier over a dining zone, distinct from whatever lights the living area. Overhead light concentrated in one spot reads as "this is a place," in a way that even furniture arrangement alone doesn't quite manage.
- Floor and table lamps in the living zone, kept low and warm the same layered-lighting principle that applies to any room → 10 Common Home Decor Problems, just deployed here specifically to keep that zone visually distinct from a brighter task-lit desk or kitchen area.
- A desk lamp rather than relying on ambient room light for a work zone. Task lighting is functionally necessary and it does zoning work at the same time a pool of focused light around a desk reads as "workspace" even from across the room.
The failure mode: one ceiling's worth of even, shadowless light across the entire open area. It's the lighting equivalent of no zoning at all everything reads as one undifferentiated space because nothing about the light changes as you move through it.
Tool 4: Level and material changes, if you can
The most structural option on this list, and the one that needs the most commitment but also the most effective, when it's available to you.
- A slightly raised platform under a bed or reading nook, even just a few inches. A small change in floor height reads as a genuine boundary in a way flat flooring can't replicate.
- A material change wood flooring under the living area, tile under an adjacent kitchen or dining zone. Works especially well because it's often already built into a home's original layout and just needs to be acknowledged rather than visually fought against.
- A partial screen fluted glass, a slatted wood divider, a woven rattan panel. Blocks a direct sightline without blocking light, and it can be moved or removed later, unlike a wall.
Most renters won't have access to this tier, and that's fine rugs and furniture alone solve most of the problem → Rug Sizing: The One Guide You Actually Need. This tier is for anyone doing a renovation or working with a home they own.
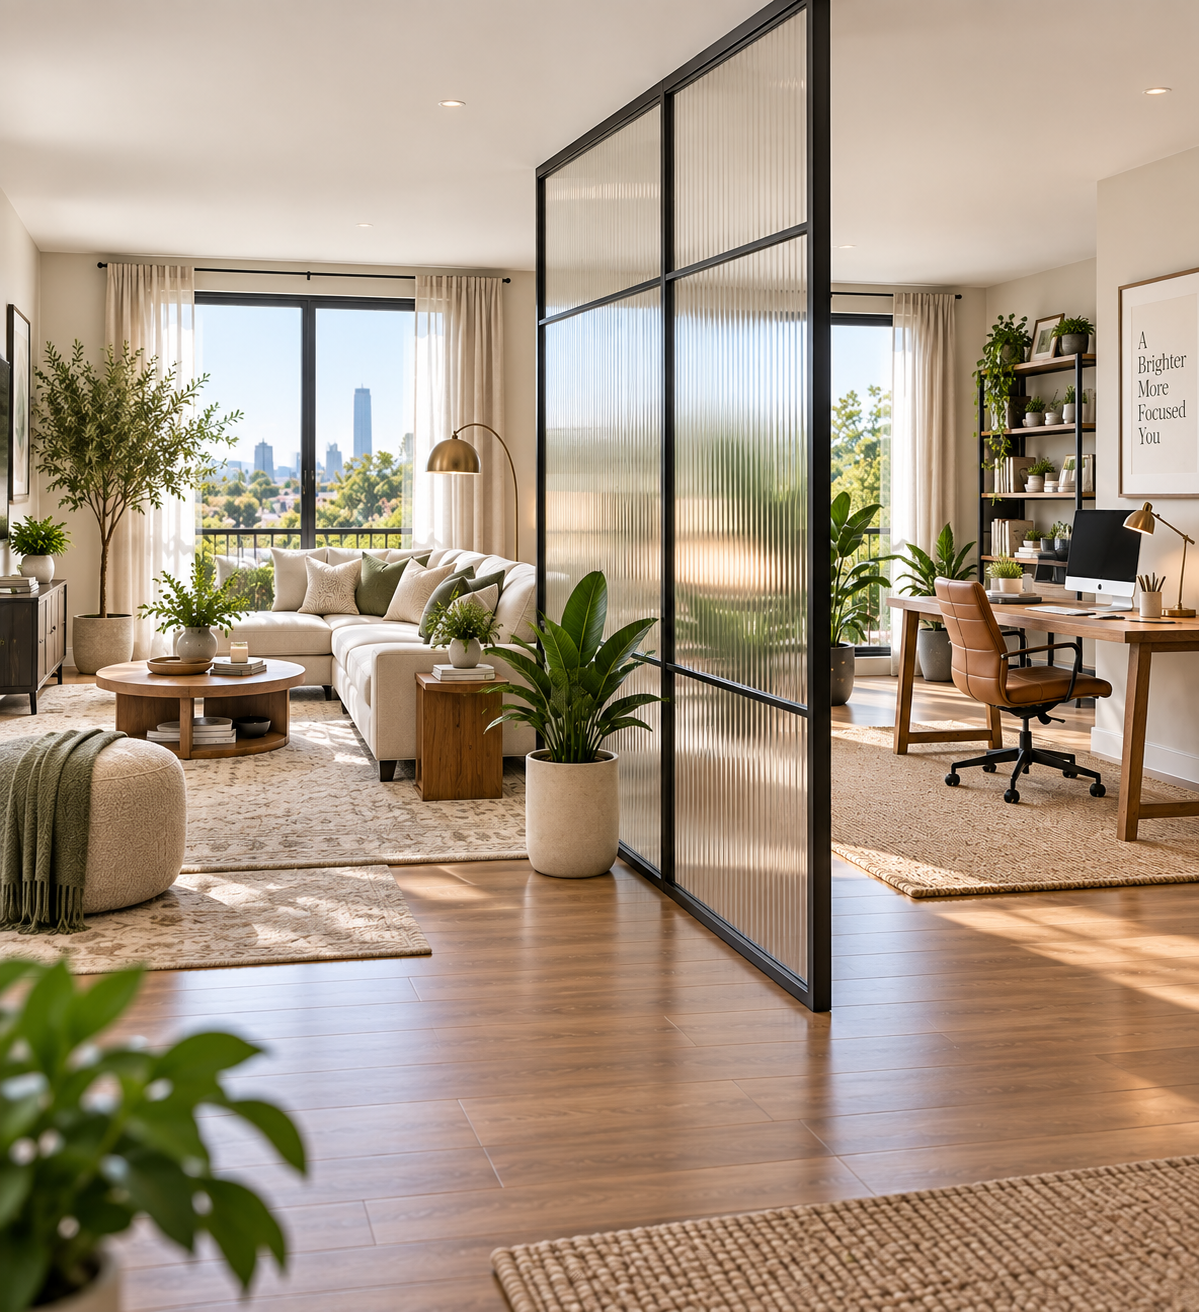
Fluted glass creates separation without blocking natural light or visual connection.
What each zone actually needs
Living zone: the largest rug, a real focal point → Living Room Focal Point: Why Your Room Feels Unfinished, and seating arranged to face inward rather than out toward the rest of the room. This is the anchor zone it should feel the most complete and the most "finished" of any area in the space.
Dining zone: its own light source above the table, a rug sized to the table with the correct clearance, and ideally a slightly different flooring or rug texture than the living zone so it doesn't visually bleed into the seating area.
Work zone: task lighting, a defined boundary even just a bookshelf or the back of a sofa and enough separation that work doesn't visually intrude on rest . This is the zone most likely to fail if it doesn't get its own clear edge, because a desk with no boundary quietly expands to dominate the whole room, the way mine did for a year.
Entry zone, if the layout has one: a rug, a console, and one thing to look at directly ahead the same focal-point logic as any room, just applied to the first few steps inside the door.
What to avoid
Centering everything on one rug. A single enormous rug under the entire open area does the opposite of zoning it visually merges every activity into one undifferentiated field.
Matching every zone identically. If the dining chairs, the sofa fabric and the desk chair are all the same tone and material, the zones stop reading as distinct even with rugs and lighting doing their job. Coordinate rather than match → Does Furniture Have to Match? the same repetition principle, applied at the scale of a whole room instead of a single vignette.
A desk with no boundary at all. This was my actual failure. A table that's simply present in a room, with no rug, no lighting distinction, and no furniture defining its edge, never reads as a workspace it reads as a table that happens to have a laptop on it, and it gets treated that way, which is exactly what happened to mine for a year.
Ignoring sightlines from the main entrance. Whichever zone is visible first from the front door effectively becomes the room's focal point, whether you planned that or not. Make sure it's the zone you actually want people to see first.
Testing it
Walk through the space the way you actually move through it in a normal day kitchen to sofa, sofa to desk, desk to door. At each transition, ask whether you can tell you've crossed into a new zone without consciously thinking about it.
If the answer is no anywhere, that's the boundary that needs work usually a rug edge, a light change, or one piece of furniture doing more than it currently is.
Photograph each zone from its own natural entry point, the same test that works for any layout problem. A photo will show you plainly whether a zone reads as its own space or just as an extension of whatever's next to it.
In my one-room apartment, the fix was a rug under the sofa that stopped well short of the desk, a floor lamp that stayed on the living side, and a small desk lamp that finally gave the work corner its own light instead of borrowing the room's. None of it was expensive. All of it took about an afternoon, a year later than it should have.
The short version
Open-plan doesn't mean undefined. The room can stay open and still tell you clearly where one activity ends and another begins through rugs, furniture acting as a divider, distinct lighting per zone, and level changes if you have the option.
Start with a rug under each grouping. Add a light source specific to each zone. Let one piece of furniture mark each boundary. That's most of it, and none of it requires a single wall.
Affiliate Disclosure
Some links in this post are affiliate links. If you buy something through one, GlamNestStudio may earn a small commission it doesn't cost you anything extra. I only link to things I'd recommend to a friend, and I've used or genuinely researched everything mentioned here. It's what keeps the guides on this site free.
Before you go
More on rooms that fight back one usable wall, narrow spaces, square rooms across the guides on GlamNestStudio.